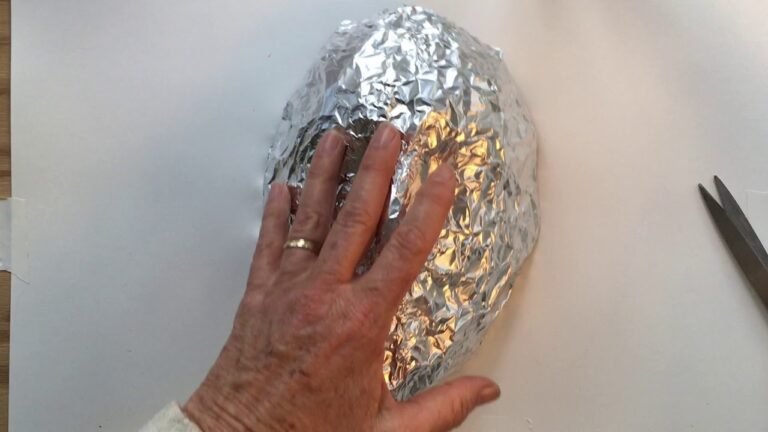
Looking to add a unique touch to your next costume party or DIY project? Look no further than our paper mache mask tutorial! In this step-by-step guide, we’ll show you how to create your own custom mask using simple materials and techniques. Get ready to impress your friends with a one-of-a-kind creation that’s sure to turn heads. Let’s get crafting!
What is the appropriate number of layers of paper mache for a mask?
If you’re wondering how many layers of paper mache to use for a mask, the general recommendation is to apply several layers to ensure it’s sturdy enough. In fact, for some individuals, like myself, a minimum of eight layers is necessary to achieve the desired sturdiness. Ultimately, the number of layers needed will depend on the specific requirements of your project and how durable you need the mask to be.
How can a paper mache mask be sealed?
To seal a paper mache mask, apply clear, acrylic varnish with a minimum of two coats for protection. However, it’s important to note that making papier-mâché completely waterproof is challenging. Varnishing will provide some resistance to moisture, allowing you to wipe the object clean, but it should not be submerged or left in water for an extended period.
What is the best glue for paper mache mask?
When it comes to creating a paper mache mask, the best glue to use is a mixture of white glue and water. This combination creates a strong and durable bond that is perfect for holding together the layers of paper. Additionally, the white glue is easy to work with and dries clear, ensuring a smooth and professional-looking finish for your mask.
For the best results, mix one part white glue with one part water in a bowl, and then use a brush to apply the mixture to the layers of paper. Allow each layer to dry before adding the next, and be sure to smooth out any wrinkles or air bubbles for a seamless result. This simple and affordable glue solution will ensure that your paper mache mask is sturdy and long-lasting, making it the perfect choice for your crafting project.
Simple Steps to Create Stunning Paper Mache Masks
Unleash your creativity with these simple steps to create stunning paper mache masks. Begin by creating a base form using a balloon or mask mold, then layer on strips of newspaper and a homemade paste of flour and water. Once dry, you can paint, decorate, and embellish your mask to bring it to life. With just a few materials and a little bit of patience, you can craft a one-of-a-kind masterpiece that is sure to impress. Let your imagination soar and have fun experimenting with different designs and techniques to create a truly unique paper mache mask.
Effortless DIY Paper Mache Mask Guide
Looking to create your own unique paper mache mask? Our effortless DIY paper mache mask guide has got you covered! With just a few simple materials and a little bit of creativity, you can craft a one-of-a-kind mask that’s perfect for Halloween parties, masquerade balls, or even as a fun art project with the kids.
To get started, gather your materials: newspaper strips, flour, water, and a balloon or mask form. Mix the flour and water together to create a smooth paste, then dip the newspaper strips into the paste and layer them onto the balloon or mask form. Once dry, you can paint and decorate your mask to your heart’s content, adding embellishments like feathers, glitter, or beads for a truly personalized touch.
With our step-by-step instructions and helpful tips, you’ll be amazed at how easy it is to create your own paper mache mask. Whether you’re a seasoned crafter or new to DIY projects, this guide will walk you through the process and inspire you to unleash your creativity. So why wait? Get ready to make a statement with your very own handmade paper mache mask!
Crafting your own paper mache mask is a fun and creative way to express your artistic talents. With just a few simple materials and a bit of patience, you can create a one-of-a-kind masterpiece that is sure to impress. So gather your supplies, follow the steps outlined in this tutorial, and let your imagination run wild as you bring your mask to life. Get ready to amaze your friends and family with your newfound crafting skills!


