


Are you ready to dive into the world of paper mache mask crafting? Whether you’re a beginner or a seasoned crafter, these expert tips will help you create stunning and unique masks. From choosing the right materials to mastering intricate designs, we’ve got you covered. Get ready to unleash your creativity and take your paper mache mask crafting to the next level!
How many layers are recommended for a paper mache mask?
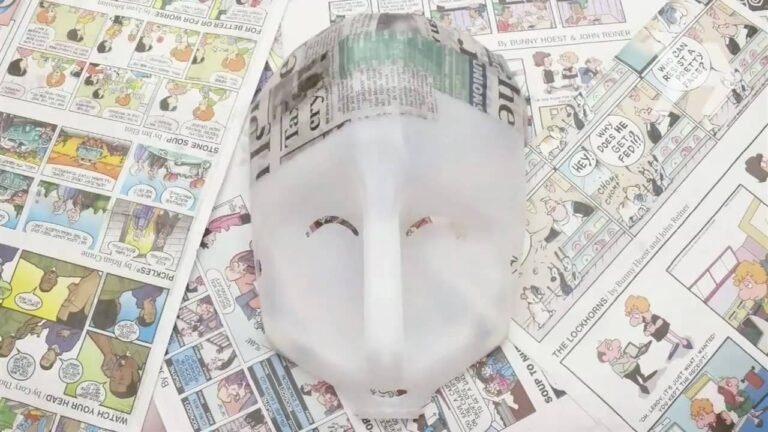
When creating a paper mache mask, it’s important to remember not to apply the paper and goo too thickly, as this can prevent it from drying properly. It is recommended to use three overlapping layers, as this should provide enough strength and durability for the mask while allowing it to dry effectively.
What is the drying time for a paper mache mask?
Creating a paper mache mask is a fun and creative project that can be done with just a few simple materials. One common question that arises during this process is how long it takes for the mask to dry. After applying 2 to 3 layers of papier mache across the entire face, it is recommended to let the mask dry for approximately 2 to 3 hours.
To speed up the drying process, consider having your friend sit in front of a fan while the mask dries. This can help to ensure that the mask dries evenly and effectively. Once the mask feels firm to the touch, it is time to carefully remove it from your friend’s face.
After the mask has dried and feels firm, gently instruct your friend to scrunch up their face to help loosen the mask. This step will make it easier to remove the mask and reveal the final product. With a little patience and creativity, you can create a unique and personalized paper mache mask that is sure to impress.
What is the ideal number of layers for paper mache?
For the best results in paper mache, it is recommended to use at least three layers of newspaper strips or other paper material. This will ensure that the final product is sturdy and durable, while also allowing for intricate details to be added to the project. By layering the paper in this way, the finished piece will be less likely to crack or break, making it a long-lasting and visually appealing creation.
Master the Art of Paper Mache Mask Making
Unlock your creativity and master the art of paper mache mask making with our step-by-step guide. From selecting the right materials to perfecting intricate designs, this comprehensive resource will help you bring your mask-making vision to life. Whether you’re a beginner looking to explore a new craft or an experienced artist seeking to enhance your skills, this is the ultimate tool to elevate your paper mache creations. Let your imagination run wild and create stunning, one-of-a-kind masks that are sure to impress.
Create Stunning Paper Mache Masks with Expert Techniques
Unleash your creativity and master the art of paper mache mask making with expert techniques that will take your creations to the next level. Whether you’re a beginner looking to learn the basics or a seasoned artist wanting to refine your skills, this comprehensive guide will provide you with the tools and knowledge to create stunning and unique paper mache masks. From creating intricate designs to perfecting the finishing touches, you’ll be able to bring your imagination to life and impress everyone with your one-of-a-kind creations. With step-by-step instructions and insider tips, you’ll be able to elevate your paper mache mask making to an impressive new level.
Essential Tips for Perfecting Your Paper Mache Mask Craft
Create a stunning paper mache mask with these essential tips for perfecting your craft. Start by preparing your materials, including newspaper strips, flour and water paste, and a balloon or mold to shape the mask. Layer the strips onto the mold, making sure to smooth out any wrinkles or air bubbles for a flawless finish. Once dry, paint and decorate your mask to bring it to life. With these simple steps, you’ll be on your way to creating a unique and beautiful paper mache masterpiece.
Elevate Your Paper Mache Mask Creations with Pro Tips
Looking to take your paper mache mask creations to the next level? Look no further! With these pro tips, you’ll be able to elevate your craft and create stunning, one-of-a-kind masks that are sure to impress. From choosing the right materials to adding intricate details, we’ve got you covered.
First and foremost, selecting the right materials is key to creating a durable and visually appealing paper mache mask. Opt for high-quality paper strips and a reliable adhesive to ensure your mask holds its shape and lasts for years to come. Additionally, consider incorporating different textures and colors to add depth and interest to your design.
To truly make your paper mache masks stand out, don’t be afraid to experiment with different techniques and embellishments. Whether it’s adding glitter, feathers, or paint, the possibilities are endless. Remember, the more time and effort you put into your masks, the more unique and impressive they will be. With these pro tips in mind, you’ll be well on your way to creating show-stopping paper mache masks that are sure to turn heads.
Crafting paper mache masks can be a fun and rewarding activity for both beginners and experienced artists alike. By following these tips and techniques, you can create unique and impressive masks that are sure to impress. Remember to experiment with different materials, textures, and designs to truly make your masks stand out. With practice and creativity, the possibilities are endless when it comes to paper mache mask crafting. So grab your supplies and get ready to unleash your imagination!